During the past years I’ve found myself trying many text and code editors; from established players like Textmate and Vim to new promising ones like Kod and others. In my opinion Sublime is currently the best code editor out there — it’s a robust combination of simplicity, extensibility, customization, and raw power for the veteran programmer.
The default installation of Sublime Text is good enough for the average user or a newbie programmer. The possibilities through third-party packages, though, are endless. They can totally transform a simple Sublime installation to a full-blown coding powerhouse. Here’s a list of my favorite packages and a small walkthrough of how to customize Sublime Text to fit your needs.
Overview
The gist is this: you have to download Package Control, a package manager that makes it extremely simple to find, install and keep packages up-to-date, then find and install the packages you want. You can customize Sublime through its text-based preferences (they seem daunting in the beginning but they’re so powerful and easy; worry not.) I’ll guide you through setting up a theme, customizing how Sublime Text looks and installing a few packages in an OS X installation.1
Package Control
First of all, we need to install Package Control. This is very easy. Open Sublime and type Control + ` to show the console. Then, if you’re using Sublime Text 22 paste the following command and hit enter:
import urllib2,os; pf='Package Control.sublime-package';

ipp = sublime.installed_packages_path(); os.makedirs( ipp )

if not os.path.exists(ipp) else None;

urllib2.install_opener( urllib2.build_opener( urllib2.ProxyHandler( )));

open( os.path.join( ipp, pf), 'wb' ).write( urllib2.urlopen

('http://sublime.wbond.net/'+pf.replace(' ','%20')).read());

print( 'Please restart Sublime Text to finish installation')
Restart Sublime Text. Now you have Package Control installed and can harness the power of packages.
User Preferences
Go to your User Preferences by typing Cmd + ,. Add the following lines inside the {} brackets:
{

  //other commands

  "default_encoding": "UTF-8",

  "word_wrap": true,

  "tab_size": 2,

  "translate_tabs_to_spaces": true

}
The code above will ensure your files are always written in UTF-8 encoding, wrapped inside the window chrome however you resize it, and indenting with tabs of a size of 2 spaces.
Use a comma after each command only if it’s not the last item in your list. Save the file with Cmd + S and you’re done.
Visuals
I recommend hiding tabs. They’re kind of ugly anyway and take useful screen estate. The sidebar is powerful enough for fast file switching either by utilizing the default OS X combination of Cmd + Shift + { (or }) or Cmd + 1/2/3/…, or by utilizing Sublime’s built-in fuzzy search — type Cmd + T with several files open and then navigate to the one you want either by typing its name or using the arrow keys. Another great and fast keyboard navigation trick is Cmd + P; then in the bar type :X, where X is the number of the line you want to go.
In the View menu you should check the Show Status Bar option.
Tomorrow Theme
There are many themes out there catering every need and style. The one I like the most is called Tomorrow and is available for almost every major text editor. In order to install Tomorrow in Sublime Text type Cmd + Shift + P to open Package Control. Then type Install, find the Install Packages, select it and then type Tomorrow — it’ll show you the Tomorrow Color Schemes package. Hit enter and install it.
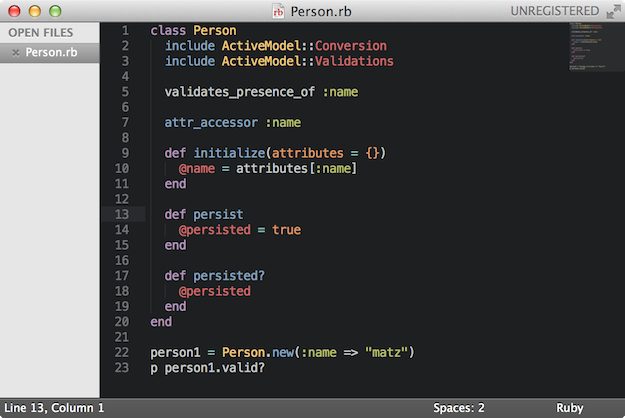
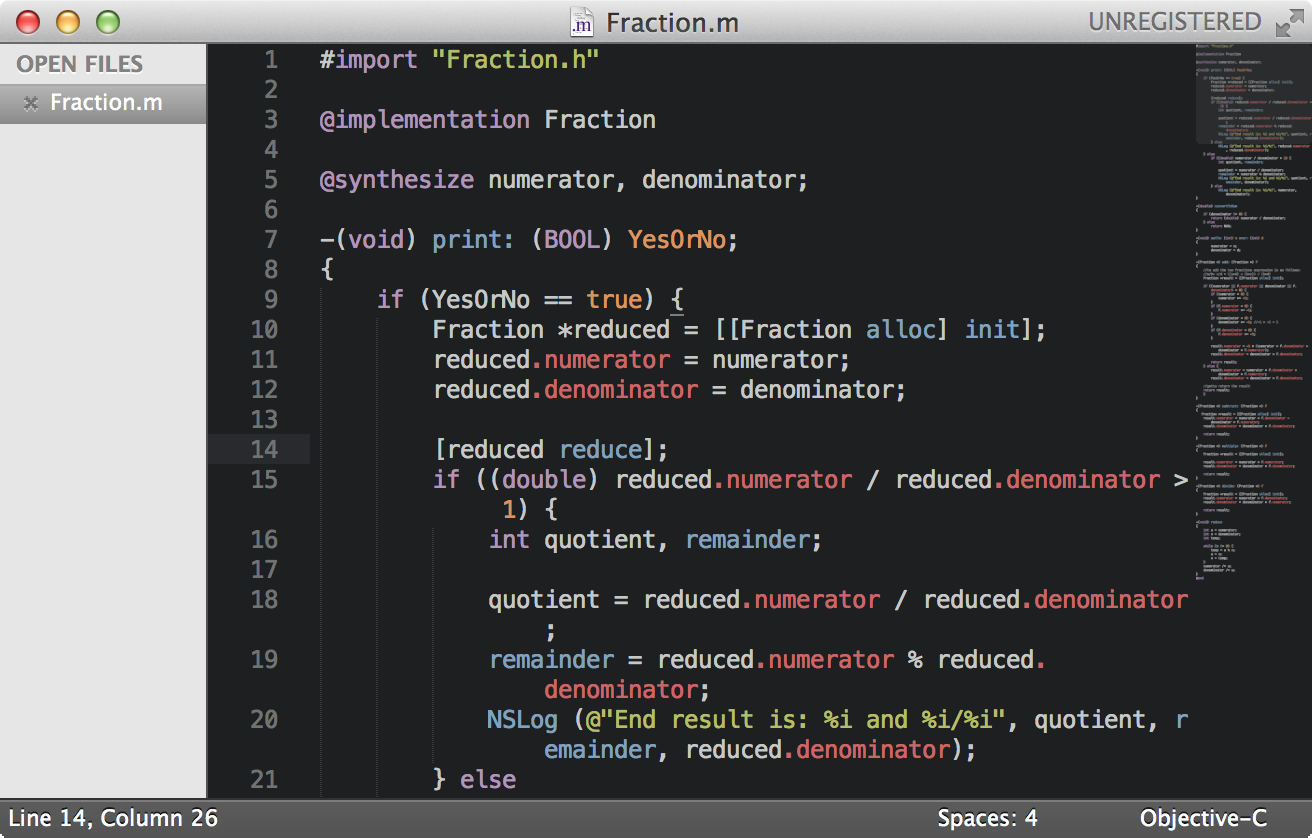
Then navigate to Preferences ➝ Color Scheme ➝ Tomorrow Color Schemes and select the one you like the most. I prefer the Tomorrow Night version. It looks like this:
Git
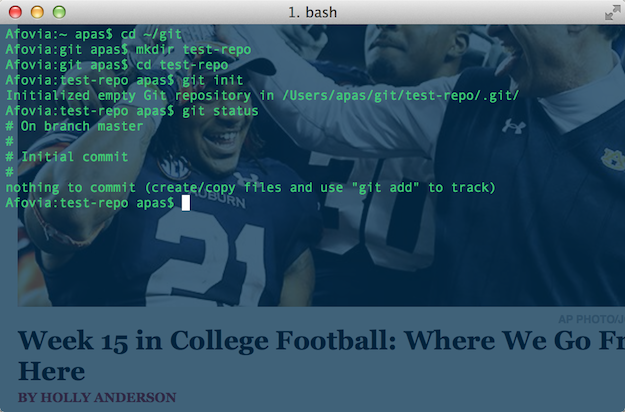
There’s a great Git package for Sublime Text called, umm, Git. Do the usual process (Cmd + Shift + P ➝ Install ➝ type Git) and install the package. Then, for instance, you can utilize the very cool diff viewer in a file right within Sublime Text by typing Cmd + Shift + P ➝ Diff. Piece of cake.
DocBlockr
DocBlockr automates the documentation process. Just type /** and then Tab and it does all the documentation lookup for you based on a method’s context. For example, if your method looks like public function awesome(Array $rad){} it will return above it this:
/**

 * [awesome description]

 * @param  Array  $rad [description]

 * @return [type]      [description]

 */
Install it by Cmd + Shift + P ➝ Install ➝ type DocBlockr and hit enter.
Alignment
Alignment is a great tool for properly aligning code. If you’re a sucker for preppy code like me and with a light OCD this package works wonders. You can install it by Cmd + Shift + P ➝ Install ➝ type Alignment. When a messy piece of code appears, select it and type Cmd + Control + A.
LaTeXTools
If you’re writing in LaTeX then this package is for you. It allows you to write LaTeX in Sublime, export and live preview it as PDF. First install the MacTex package from here (it’s a 2.3Gb file), then install LaTeXTools by Cmd + Shift + P ➝ Install ➝ type Latextools. In order to fully customize LaTeXTools and the live PDF preview via Skim Reader, please refer to LaTeXTools’ documentation.
Print to HTML
Sublime Text doesn’t support printing files yet but there’s a package for that. It’s called Print to HTML. It prints your code in a code-highlighted HTML file which you open with a browser and print it either as a PDF or on dead trees. Install it by Cmd + Shift + P ➝ Install ➝ type Print, find it in the list and hit enter.
Markdown
Sublime has fully served all my code and text needs but one: writing in Markdown. Nowadays I write almost all my documents3 in Markdown using Mou. I used to use iA Writer but Mou’s features like Copy HTML (export your Markdown document in vanilla HTML ready to paste in a WordPress editor for instance), export as PDF, and an amazing live preview made me switch.
Sublime supports Markdown code highlighting out of the box but it’s fairly limited and, unfortunately, there are no additional features. There are a few Markdown packages I tried with the best of them being Markdown Editing. You can install it by Cmd + Shift + P ➝ Install ➝ type MarkdownEditing.
Although MarkdownEditing supports export to HTML, it’s not vanilla. Moreover, I haven’t automated my Markdown process in Sublime yet, ergo I’m sticking with Mou. But you can definitely give Markdown a try in Sublime.
More Sublime reading
- For Windows users: it’s essentially the same process with different keyboard combinations. ↩
- As of writing this, the latest stable Sublime Text version is 2.0.2. ↩
- For instance this post or even school/academic papers. Although regarding school papers I’ve started experimenting with LaTeX and looks quite cool. I still love Markdown’s simplicity, though. ↩